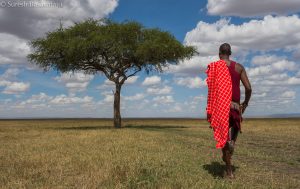
What is Time-lapse Photography?
Time-lapse photography is a cinematography technique whereby the frequency at which film frames are captured (aka the frame rate) is much lower than that which will be used to play the sequence back.
For e.g., We are manipulating time. Objects and events that would normally take several minutes, days, or even months can be viewed to completion in seconds having been sped up by factors of tens to millions.
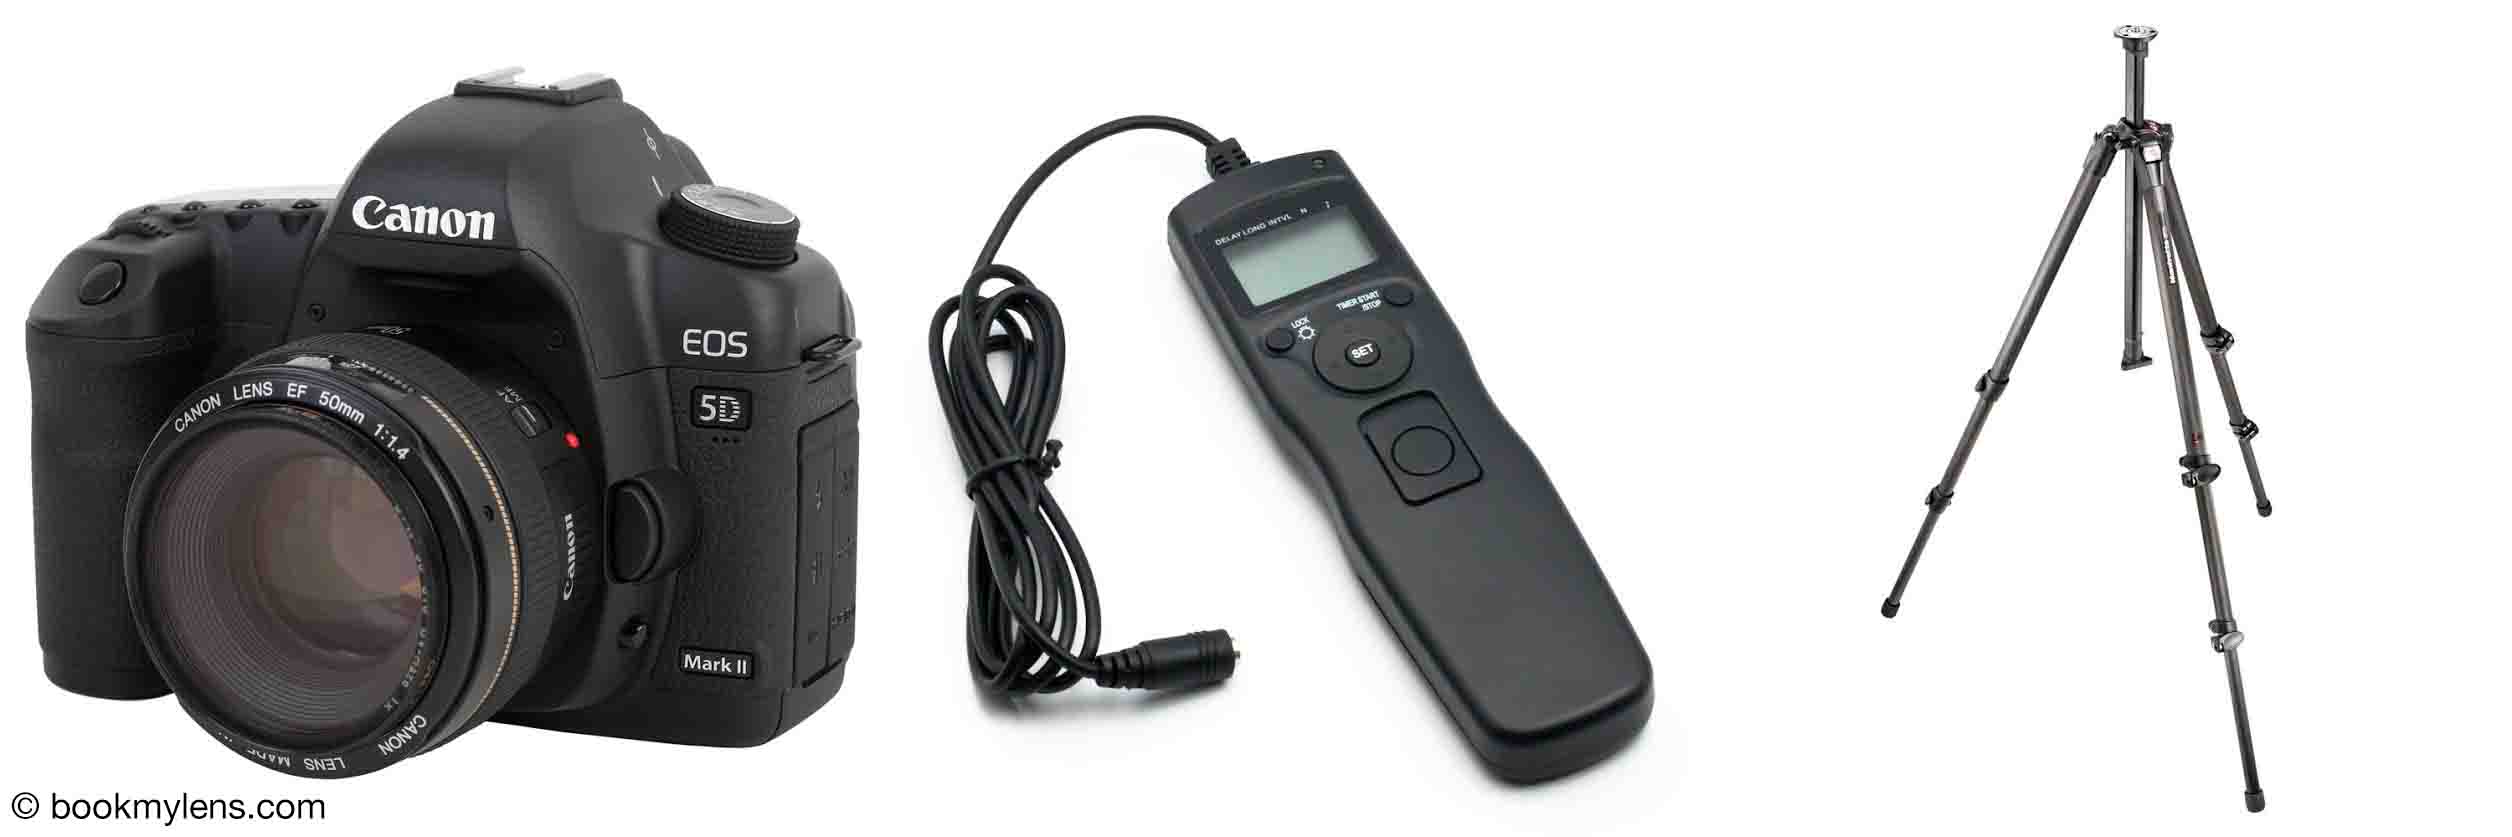
The Gears you needed to tell your own Time-lapse Story:
Here are the minimum gear requirements for a new shooter.
- Camera
- Intervalometer
- Tripod
Basic TL Shooting Workflow
- Create a Composition Explore and evaluate your subject, create a scene and anticipate how the scene will change.
- Program the Interval Decide the speed and flow of action. Determine clip length and how many shots require and how long to shoot.
- Set Camera Exposure Lock in consistent exposure.
- Review, Test and Finalize Take a test shot / mini- TL / Review.
- Start the TL
How It’s made!!!
- Set-up your shot – Use a tripod or sturdy location to place your camera. I put mine in front of the TV in the entertainment center.
- Take a test shot – Take a test shot of the area to calculate your exposure and to set the focus. I knew I wanted about a 2 second exposure, so I took my test shot in Shutter Priority mode.
- Adjust the camera settings – Switch the camera into manual mode. Use your test shots exposure information to set the aperture. Set the shutter speed to what you used in step 2. Turn off auto white balance. Set it to a preset or custom. Basically make sure any auto features are not on auto!
- Take another test shot – Only do this if you have easy access to the viewfinder, and use a remote to avoid camera shake. This shot is just to make sure the images are properly exposed using the manual settings.
- Setup your intervalometer – I used a TI-83 calculator as my intervalometer. See the links below for the instructable. I set mine to fire in 10,000 TI-83 cycles, which worked out to be around every 26 seconds.
- Hook em up together – Hook up your calculator (or intervalometer) to your camera and press start.
- Wait!!! – For me, waiting wasn’t that bad since I was playing Mario Kart. But doing a nature Time-lapse will require a significant time commitment. For my example the time was just about 3 hours.
- Compile the video – After the sequence is done and you’ve downloaded your images its time to make the video. I used QuickTime Pro as it was the easiest method and gave me the best results. I tried a few free applications, which worked, but I liked the flexibility QT Pro gave me. In QT Pro simply go to “File -> Open Image Sequence…” and then chose the first picture. Be sure to set your Frame Rate at something between 10 and 30. I used 15 for mine. If your files are numbered sequentially QT will be able to figure out which pictures to add. From there you can “File -> Save As…” a QuickTime .MOV or you can “File -> Export” to a number of different formats. If your video is long enough you can add music and the like. See the links for some sites to get free creative commons licensed music.
- Post your video – I put mine on Flickr, but you can put yours on YouTube or any other video sharing site.
- Enjoy!!!!!
The shots for this Time-lapse were taken with my 18-55mm kit lens at 18mm, f/8.0, 2 second shutter speed and 26 seconds between shots. I accidentally left on auto white balance, which is what gives it that flicker.
Other Notes:
Shutter Speeds: Be sure to pick a shutter speed that will give you a good Time-lapse effect (i.e. movement). If you have a shutter speed that is too fast you’ll end up with a choppy looking video.
Interval Times: The interval times (time between shots) should also be set for your subject. For slow moving subjects you can have more time between shots. For fast moving subjects you’d want less of an interval. For example, for clouds you’d want to take a shot ever second or so.
Battery Power: Make sure you have enough battery power in both your camera and your intervalometer. If you’re expecting things to take a while plug into AC power (if its near), use a power inverter, or a battery grip.
Image Settings: Set your camera to use JPG (you won’t need RAW for this) and at a size that you think is reasonable. If you don’t it will make your post processing more difficult as you’ll have to convert all your RAW images to JPG and then re-size them. I started in RAW not knowing any better and alot time was spent converting and re-sizing. Save yourself the trouble and do it in the camera.
Original Source : http://recitals.wilderhood.com/2015/03/08/TimeLapse.html